NOTE: The following instructions are applicable only for releases 8.414 and newer, where the Aralco Implementation Team have provided an AralcoSetup utility.
Preparation
- The Server Side Installation must have already been conducted prior to installing the workstations;
- Have ready the IP address or machine name the Aralco database resides on, and the database name (default is AralcoBOS);
- The PKID and Passkey provided to you by our Implementation Team;
- Be sure that you are logged in as a user with local Administrator privileges;
- Place the AralcoSetup utility provided by our Implementation Team on the workstations’ desktop;
- Make sure the workstation has a valid default printer;
- Microsoft .Net 3.5 and Microsoft .Net 4.5 or higher should already be installed (links provided);
- For new installation sites, the Back Office needs to be fully configured prior to setting up Point of Sale workstations. Be sure your Back Office is ready (users, products, settings, tender keys, etc.) before starting up Point of Sale.
Installation
- Double click on the AralcoSetup utility you placed on the workstation’s desktop;
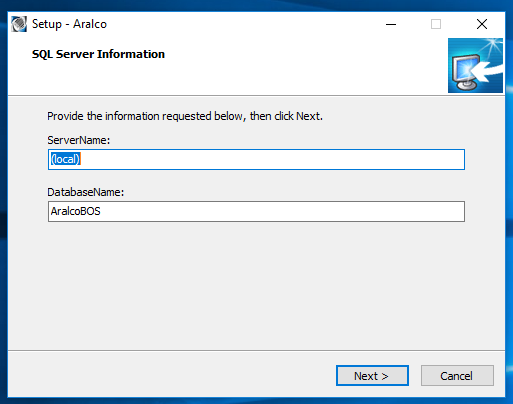
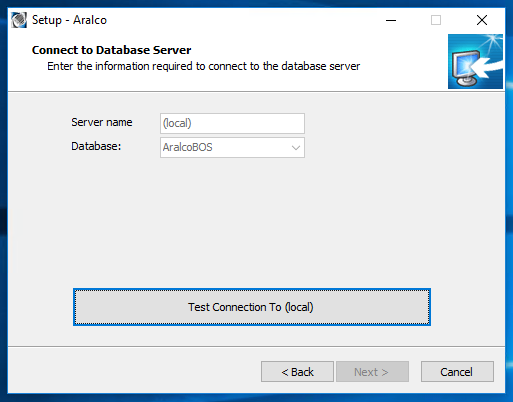
- Enter the IP address or machine name where the main Aralco database resides ( enter (local) if this is also the server), along with the name of the database (usually AralcoBOS), and click [Next>];
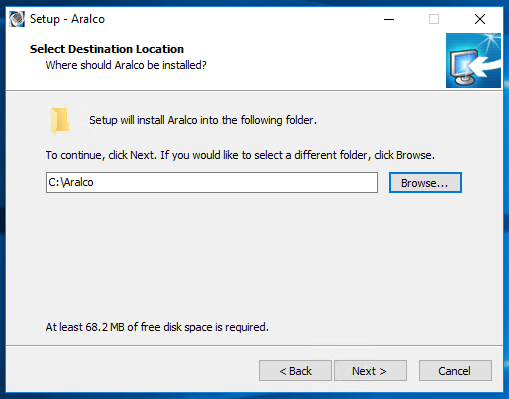
- Enter the name of the folder to install the Aralco application into (we highly recommended the default of C:\Aralco). From here forward you can click [<Back] to edit previous settings or [Next>] to proceed;
 If the folders doesn’t already exist a warning message will appear. Click [Yes] to have the folder created for you or [No] to choose a different folder:
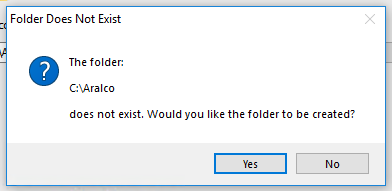
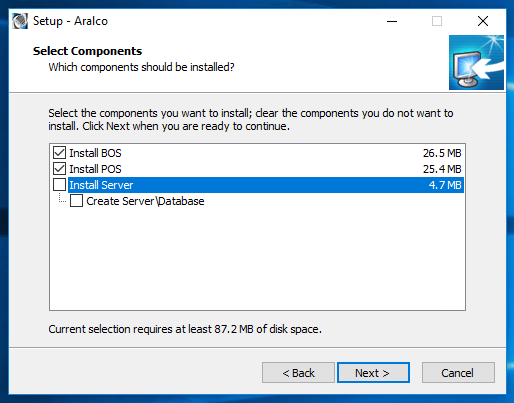
- From the next screen, choose the Aralco modules you would like installed. Since this is a workstation installation, only select the BOS (Back Office) and POS (Point of Sale) to be installed. You will want to unselect the Install Server option;
- Click on the big [Test Connection To server] button to ensure you have a proper connection with the main database. If the connection fails, go back and change the server information or the database name. Once a successful connection is made the [Next>] button will be available to continue;
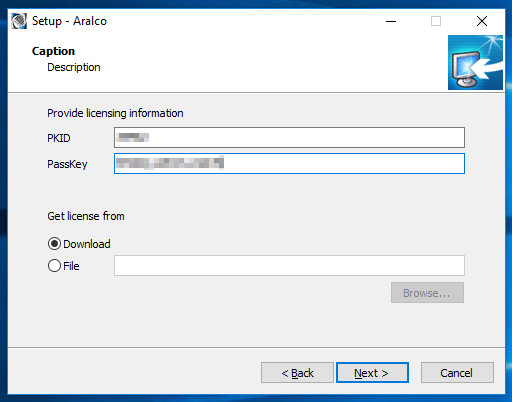
- Enter the PKID and Passkey provided by our Implementation Team. You can leave the Get license from as Download;
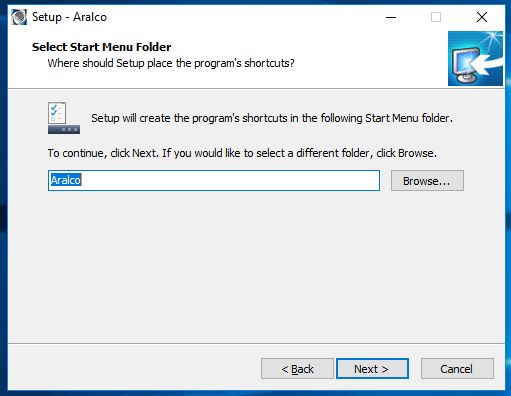
- Accept the default, or enter the name for a Start Menu folder where the Aralco shortcuts are to be created within;
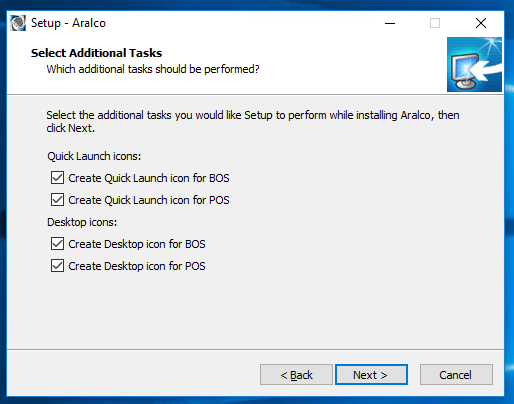
- The setup process can automatically create shortcuts on the desktop and the Windows quick launch menu. We recommend taking advantage of this for easier access;
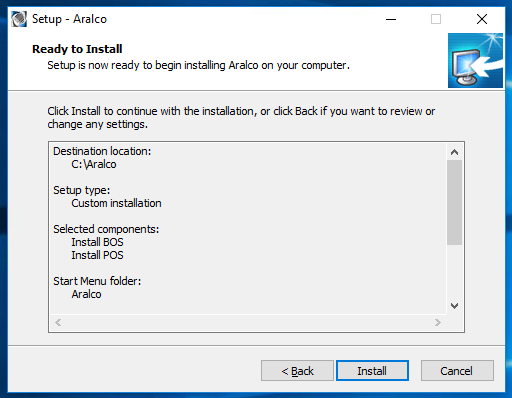
- Review the installation settings and go [<Back] to make any changes or [Install] to continue;
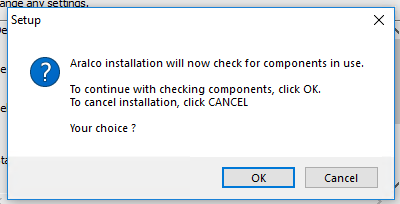
- At the next prompt, respond [OK] to continue or [Cancel] go back;
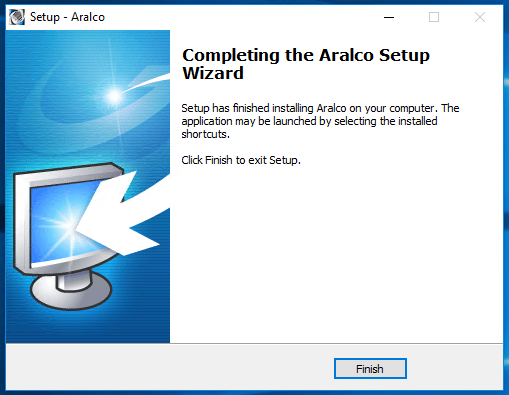
- Finally, click [Finish] to complete the setup;
Initialize Point of Sale
NOTE: This process only applies to workstations where Point of Sale is installed. If only Back Office is installed you can skip this all together and start using Back Office by double clicking on the AralcoBOS icon.
Now that the software is installed, the local Point of Sale database needs to be initialized. This includes transferring data such as settings, users, products, pricing, etc. from the main database. For new installation sites, the Back Office needs to be fully configured prior to initializing Point of Sale.
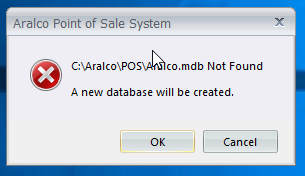
- Double click on the icon on the desktop of the workstation;
- Press [OK] to create the local database:
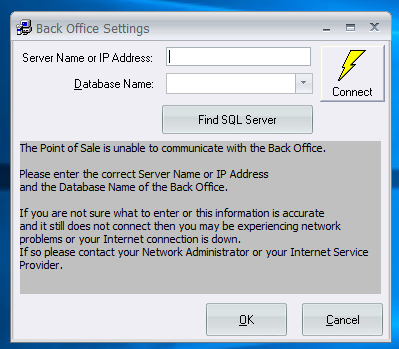
- Enter the name or IP address of the server where the main Aralco database resides, and select the database itself from the drop down. Click [Connect] to test the connection, and [OK] to continue;
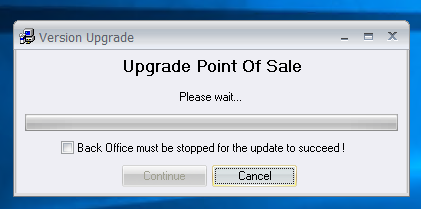
- Make sure that Back Office isn’t running, click the radio button to confirm, and then [Continue] to proceed:
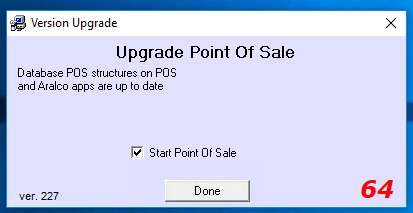
- Once the database has been created, click [Done] to continue;
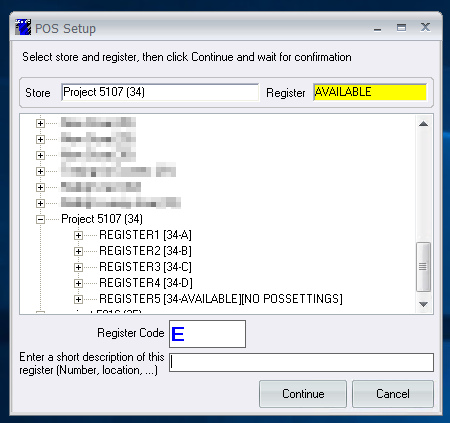
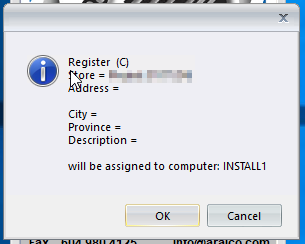
- Locate the store and register this workstation is to be assigned to, and enter the Register Code letter for this register. If this is a new register license that has not been assigned before, you see something like [34-AVAILABLE][NO POSSETTINGS]. You can also reassign a previously used license to a new workstation;
- A message like below will appear to confirm the register assignment;
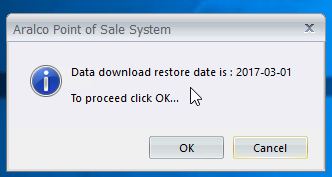
- A message will appear showing the cutoff date for sales and special order data that will be restored to the register. For new registers this will be 12 months, while existing registers will default to the existing register settings;
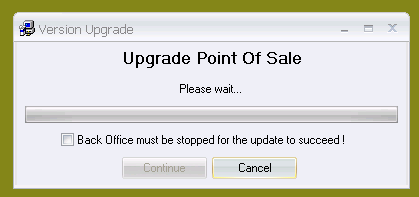
- Make sure Back Office is not running on this workstation, click the radio button, and click [Continue];
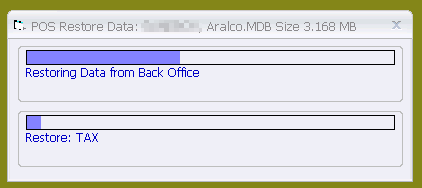
- A window will appear showing the data being transferred to the local POS database from the main Aralco Back Office server database;
- The following message will appear when the data download process is completed. Press [OK] to finish;
- The basic setup is complete, and Point of Sale will start up automatically for you to enter your login credentials.
At this stage you can delete the AralcoSetup program from the Desktop, and go about configuring the register settings.
If you require further assistance, please contact our Support Department at 604-980-4199 ext 2., or click on this link to submit a support request.